
How to check quality of materials in site?
Just good supervision is not enough for a good construction having required properties and durability. Proper quality control is essential at all stages, especially at the very start, where we have to select the right materials for a type of construction, as the materials are the cell of each structure. One may not always have the facility of the laboratory at the site for the testing of materials to ascertain the quality of the material whether it is bad or good, suitable or not. So, a homeowner should be able to judge the quality of the basic construction materials such as Brick, Cement, Sand, concrete and Stone Chips using Visual Inspection of those materials, which can be done by doing the Field Test on those materials. Here, there are field tests for basic construction materials that become necessary in day to day work.
-
Bricks:
- A good brick should be of proper shape and standard specified size, the edges of it should be sharp, there should not be any cracks and fissures on the brick.
- The colour of a good brick should be copper-red colour. A yellowish tint on brick indicates that it is under burnt and hence possessing lower strength, and if a brick is of dark blackish-blue colour then it indicates the brick is over burnt and is brittle.
- When a brick is struck by a hammer or against another brick, it should emit a clear metallic ringing sound, it should not be dull.
- A freshly fractured brick should show a homogeneous compact structure without any lumps.
- If a brick is dropped from about a height of 1m on hard ground or another brick, it should not break.
- When a brick is scratched with a fingernail it should not leave any impression on the brick.
- A good brick (1st Class) should not absorb water by not more than 20% of its Dry weight when immersed in water for 24 Hours.
-
Cement:
- Date of Packing: Strength of cement reduces with age.
- The cement should be of Greenish Grey colour for Ordinary Portland Cement and Blackish Grey colour for Portland Pozzolana Cement and Whitish Grey colour for Portland Slag Cement.
- There should not be any hard lumps on cement; the cement should be finely powdered. If cement contains hard lumps, then it must be rejected.
- The cement, when rubbed between fingers, should feel smooth, it should not feel granular. If it is granular then it means adulteration with sand.
- A cement paste should feel sticky in between fingers.
- When the hand is dipped into a heap or a bag of cement, it should feel cool, not warm.
- Float Test: If a hand full of cement is thrown into a bucket of water, the cement should sink, not float as the Specific Gravity of Cement is greater than that of Water.
- If a thick cement paste made on glass and immersed in water should set maintain shape
-
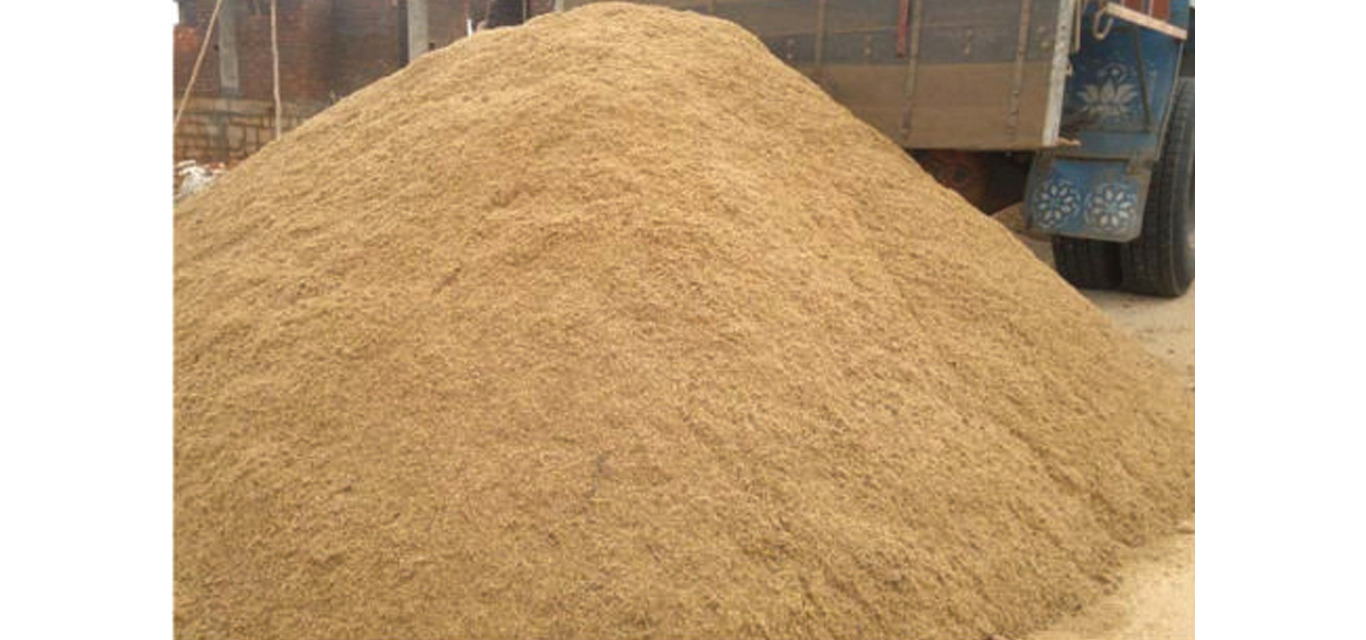
Sand – River Sand / M-Sand:
- The Sand should be free from organic impurities and mineral salts, the maximum permissible quantity of organic impurities should be restricted to 5%.
- Take a glass of water and add some sand in it. Shake it vigorously and allow it to settle. If the clay is present in sand, it will form a distinct layer on top of the sand.
- Take a pinch of sand and taste it. If it tastes salty, it indicates salty material.
- The Sand should be of Golden Yellow colour.
- The Sand particles should be sharp and angular to increase the interlocking property between the sand particles.
- The sand should be coarse for Concreting and medium sand may be allowed in brickwork and is preferable for plastering works.
- Test for M sand: Take a clean bottle. Put approximately 1/3 m-sand inside the bottle. Fill water and close the bottle. Shake well vigorously. Put the bottle undisturbed for 2 hours. Take a measurement, silt deposit on top H1, Total height H2. (H1/H2) X 100 should not be more than 15%
-
Concrete – Slump Test:
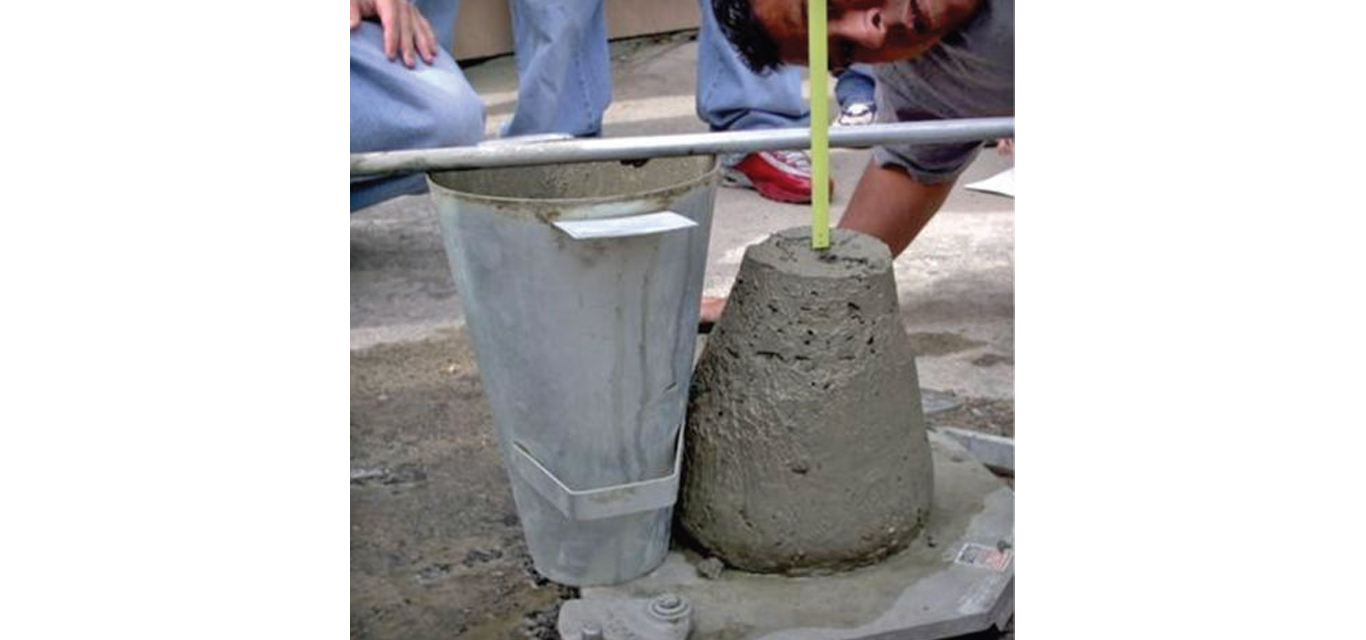
The slump test is a means of assessing the consistency of fresh concrete. It is used, indirectly, as a means of checking that the correct amount of water has been added to the mix. The steel slump cone is placed on a solid, impermeable, level base and filled with fresh concrete in three equal layers. Each layer is rodded 25 times to ensure compaction. The third layer is finished off level with the top of the cone. The cone is carefully lifted, leaving a heap of concrete that settles or ‘slumps’ slightly. The upturned slump cone is placed on the base to act as a reference, and the difference in level between its top and the top of the concrete is measured and recorded to the nearest 10mm to give the slump of the concrete.
When the cone is removed, the slump may take one of three forms. In a true slump, the concrete simply subsides, keeping more or less to shape. In a shear slump the top portion of the concrete shears off and slips sideways. In a collapse slump, the concrete collapses completely. Only a true slump is of any use in the test. If a shear or collapse slump is achieved, a fresh sample should be taken and the test repeated. A collapse slump will generally mean that the mix is too wet or that it is a high workability mix, for which the flow test is more appropriate.
-
Stone chips:
- The Stone Chips are to be well graded to increase the mechanical interlocking between them.
- Stone Chips should be Angular as far as possible and be porous.
- The Stone Chips should not be flaky and elongated.
- The Stone Chips should not contain organic and other impurities, as only 5% of clay content in concrete can reduce the strength of the concrete as much as 20%.